TL;DR: Your ATV’s stator charges the battery while the engine runs, similar to an alternator in a car. When it fails, you’ll notice charging issues, dimming lights, and a battery that won’t hold a charge. Learning how to test an ATV stator with a basic multimeter can save you a trip to the shop and help you pinpoint the problem before spending money on parts you might not need.
- A multimeter is the only tool you need for basic stator testing
- Static and dynamic tests together give you a complete picture
- Most modern ATVs use a three-phase stator for higher electrical output
- A bad stator can mimic battery or regulator problems
- Testing takes about 15 to 30 minutes once you know the process
When your ATV starts having electrical problems, the stator is one of the first components you should check. It recharges the battery while the machine is running, and when it fails, everything downstream suffers. The battery drains, lights dim, and eventually the ATV won’t start at all. The tricky part is that stator problems often look like battery or regulator issues, which is why stator testing with a multimeter is the most reliable way to figure out what’s actually going on before you start replacing parts.
Before You Start Testing
Before jumping straight to the stator, rule out the simpler possibilities first. Put your battery on a separate charger and see if it holds a charge. Inspect the battery terminals and wiring for corrosion, and clean any dirty connectors. Check your regulator/rectifier connections as well. If none of those steps resolve the charging issue, it’s time to test the stator itself.
You’ll need your ATV’s service manual for this process. The manual contains the specific resistance values and voltage readings for your stator model, and those numbers vary from machine to machine. Without the manual, you won’t know whether your readings are within spec or not.
How to Test a Stator With a Multimeter
Testing stator with multimeter involves two separate tests: a static test with the engine off and a dynamic test with the engine running. Both are straightforward once you understand what you’re measuring.
Static Test (engine off)
Turn off the ATV and disconnect the stator’s electrical connector. Set your multimeter to the ohms setting and test the resistance between each pair of pins in the connector. For a three-phase stator, you’ll measure between pins 1 and 2, pins 2 and 3, and pins 1 and 3. Compare each reading to the specifications in your service manual.
All three readings should be close to each other. If one is significantly different or reads zero, that winding has a problem. An OL (open line) reading means the winding is broken entirely.
Next, check whether the stator is shorting to ground. Place one multimeter lead on a pin in the connector and the other on the stator body or engine case. The correct reading here is OL on every pin. If you get any resistance reading at all, the stator is grounding out and needs to be replaced or repaired. Test each pin individually.
Dynamic Test (engine running)
This test only works if your battery has enough charge to start the engine. Switch your multimeter to AC voltage and reconnect the stator. With the engine running at idle, measure the AC voltage output between the same pin pairs: 1 and 2, 2 and 3, and 1 and 3.
You’re looking for a positive voltage reading that’s consistent across all three pairs. Have a friend rev the engine while you watch the multimeter. The voltage should increase as RPMs increase. If one pair reads significantly lower than the others, or if the voltage doesn’t climb with RPMs, that winding is failing.
A reading that stays the same from idle to high RPM is a clear sign the stator isn’t generating power properly.

How to Tell If Stator Is Bad
Sometimes you don’t need a multimeter to suspect a stator problem. An ATV stator test confirms it, but these symptoms usually point you in the right direction before you grab your tools:
- Battery keeps dying even after charging or replacing it
- Headlights and dash lights dim or flicker at idle
- The ATV runs fine at high RPMs but struggles electrically at low speeds
- You smell burning from the stator area, which indicates fried windings
- Visible damage to the stator wires, including discoloration, melting, or exposed copper
If you’re seeing any combination of these symptoms and your battery and regulator check out fine, the stator is almost certainly the issue.
Fixing or Replacing a Bad Stator
If your testing confirms a bad stator, you have two options. You can rewind the stator yourself or replace it entirely.
Rewinding involves removing the damaged wire from the stator core, cleaning the heads with fine-grade steel wool, and wrapping new wire of the same gauge in the same direction as the original. There should be no gaps between wrappings, and terminal leads need an additional inch of length at both ends for crimping. After reassembly, test the repaired stator with your multimeter before reinstalling. Coat the new windings with liquid rubber and let it cure completely.
If rewinding isn’t in your wheelhouse, a full stator replacement is the easier route. You can order an OEM or aftermarket stator and install it yourself with basic hand tools, or talk to one of the experts at Coolster!
FAQs
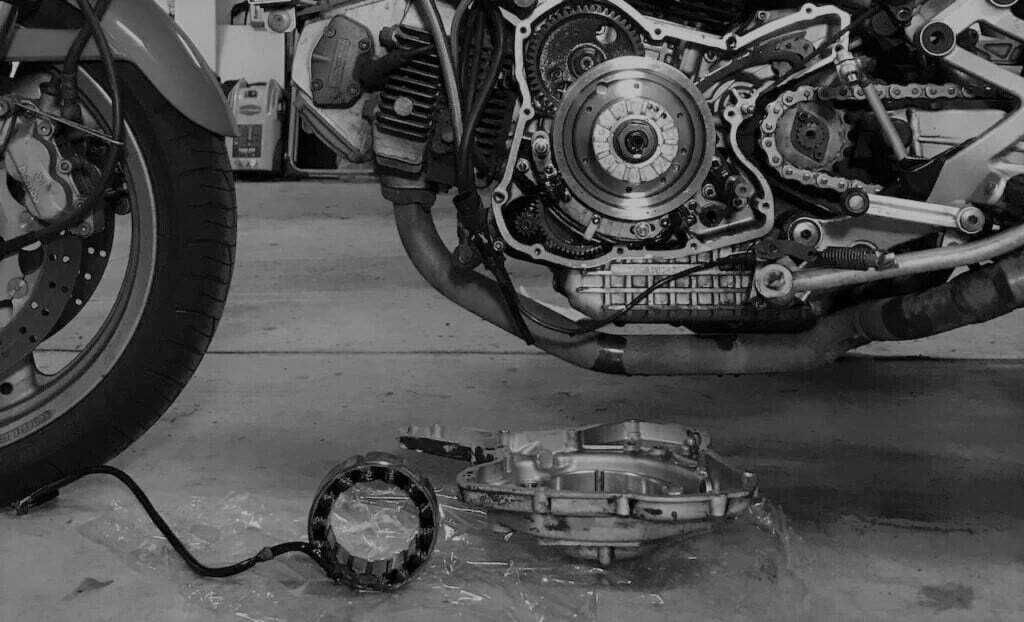
Yes, partially. The static resistance test and the ground fault test can be performed at the electrical connector without removing the stator from the engine. The dynamic test also doesn’t require removal since the engine needs to be running. Full removal is only necessary if you need to visually inspect the windings for physical damage or if you’re replacing the unit.
Once you know the process and have your service manual handy, the full testing sequence takes about 15 to 30 minutes. The static test is the quickest part. The dynamic test takes a bit longer since you need to start the engine and check readings at multiple RPM levels. First-timers should budget a little extra time for getting familiar with the multimeter settings and locating the stator connector.
Not at all. If you can use a multimeter and follow the steps in your service manual, you can test a stator. The process involves connecting leads to pins and reading numbers on a screen. The hardest part for most people is locating the stator connector on their specific ATV model, which is where the service manual comes in handy.
It can, but not for long. A bad stator won’t charge the battery, so the ATV will run off whatever charge the battery has left. Once that’s drained, the engine will die and won’t restart. You might also experience dimming lights, weak spark, and other electrical issues as the battery voltage drops. Running an ATV with a known bad stator risks stranding you on the trail, so it’s best to address the problem before your next ride.
Final Thoughts
A stator problem doesn’t have to be a guessing game. With a basic multimeter and your service manual, you can diagnose the issue in under half an hour and make an informed decision about whether to repair, replace, or take it to a professional. The key is testing before you start throwing parts at the problem. A few minutes of diagnostic work can save you real money and get you back on the trail faster.